
I was super excited six months ago when I learned that Amusing Hobby were releasing the FV 4005 kit. The tank destroyer known by the World of Tanks community as the Shitbarn is basically a Centurion hull with a huge 183 mm gun in an enormous paper thin turret.
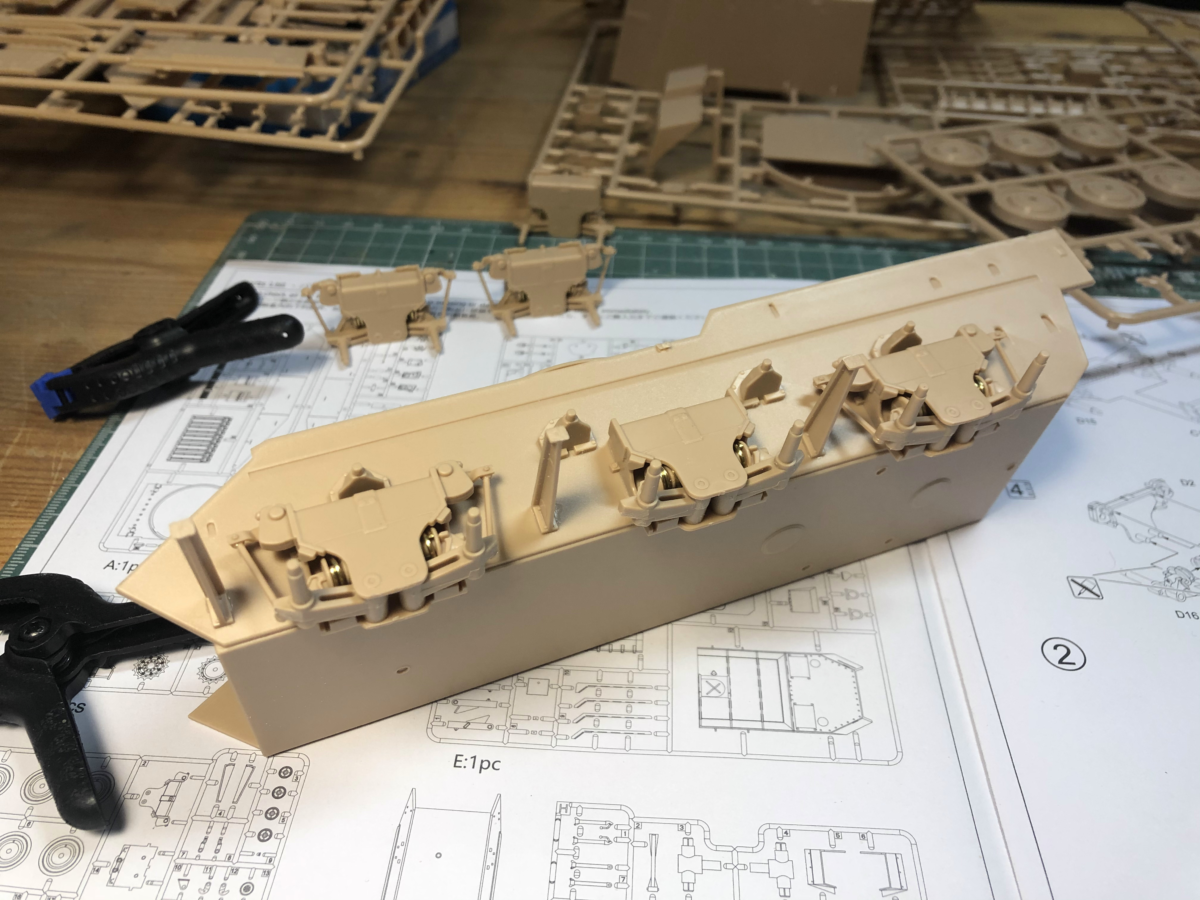
The kit comes with real metal springs and each wheel is suspended individually. This can help build a diorama with an uneven surface if one likes to.
The kit itself is very easy to put together (the tracks excluded). There were no major fitting issues but a lot of parts had to be cleaned well from the extra sprue. The details are not amazing but good. There are some photo-etched part included and those always make any kit better.
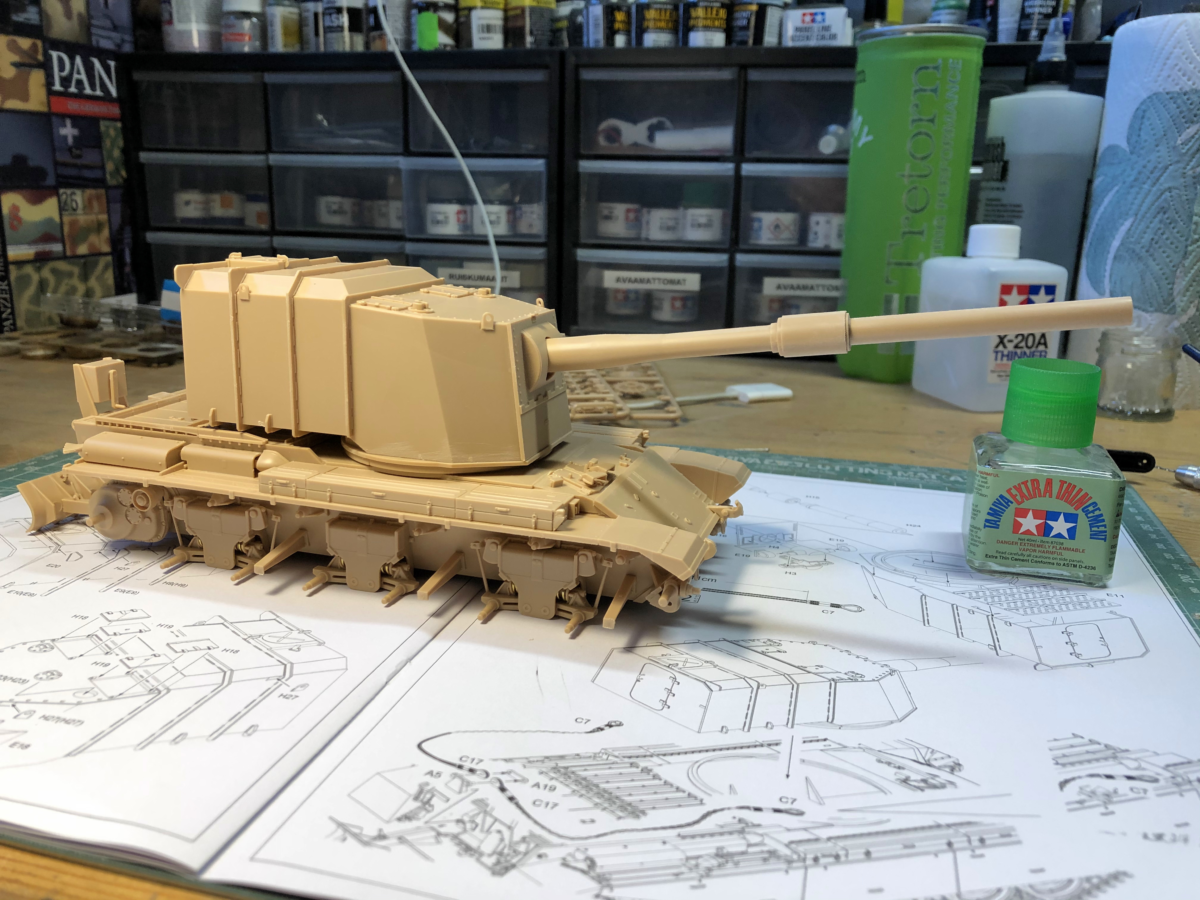
The gun moves up and down and the turret turns 360 degrees unlike in World of Tanks. The gun can be either locked into transport position or the barrel support mechanism can be collapsed.
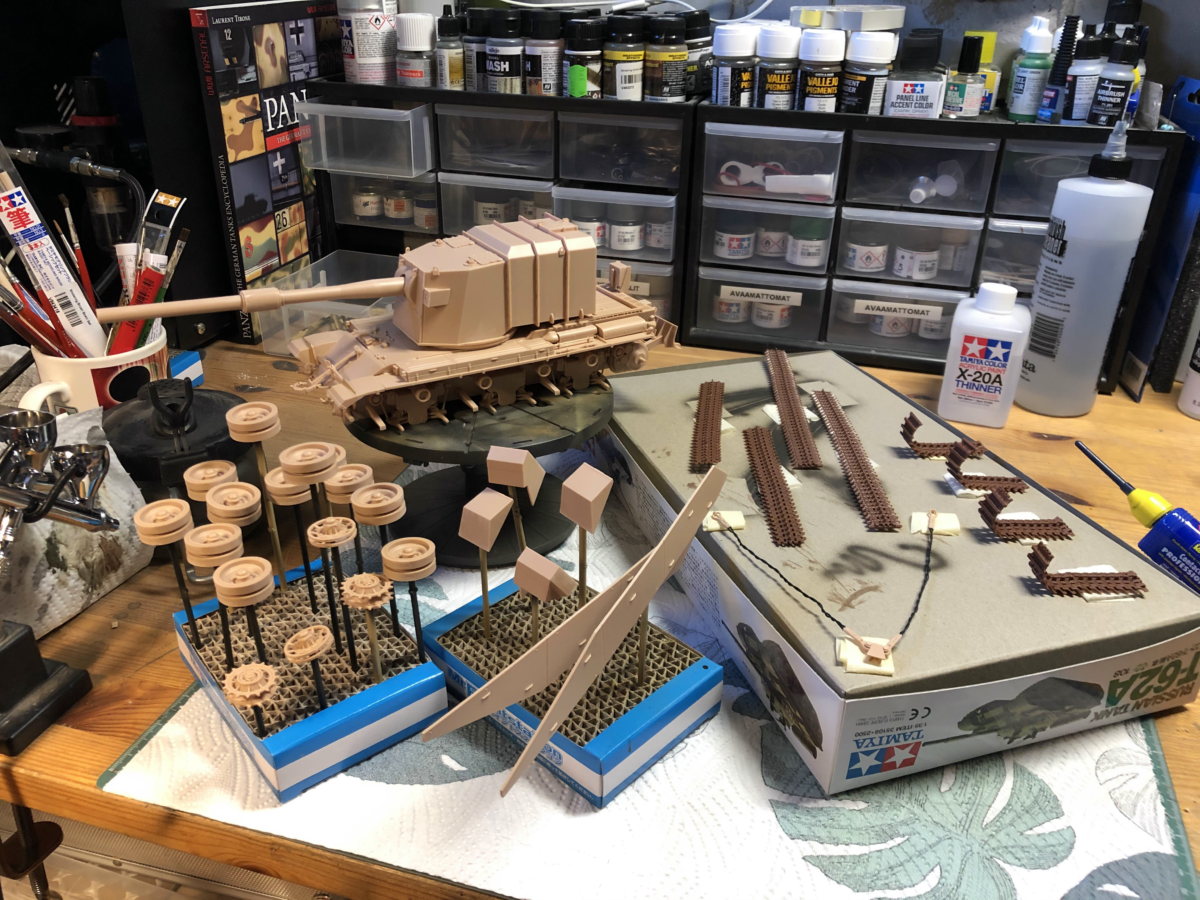
Like all Amusing Hobby kits I’ve seen so far the tracks are a nightmare. They do not fit together flawlessly and require cement. This kit does not come with a track like jig like the Jagdpanther II kit, which is still even worse as every track link consists of several parts. Luckily this kit is one part per one track link. However making perfectly straight tracks requires patience and accuracy.
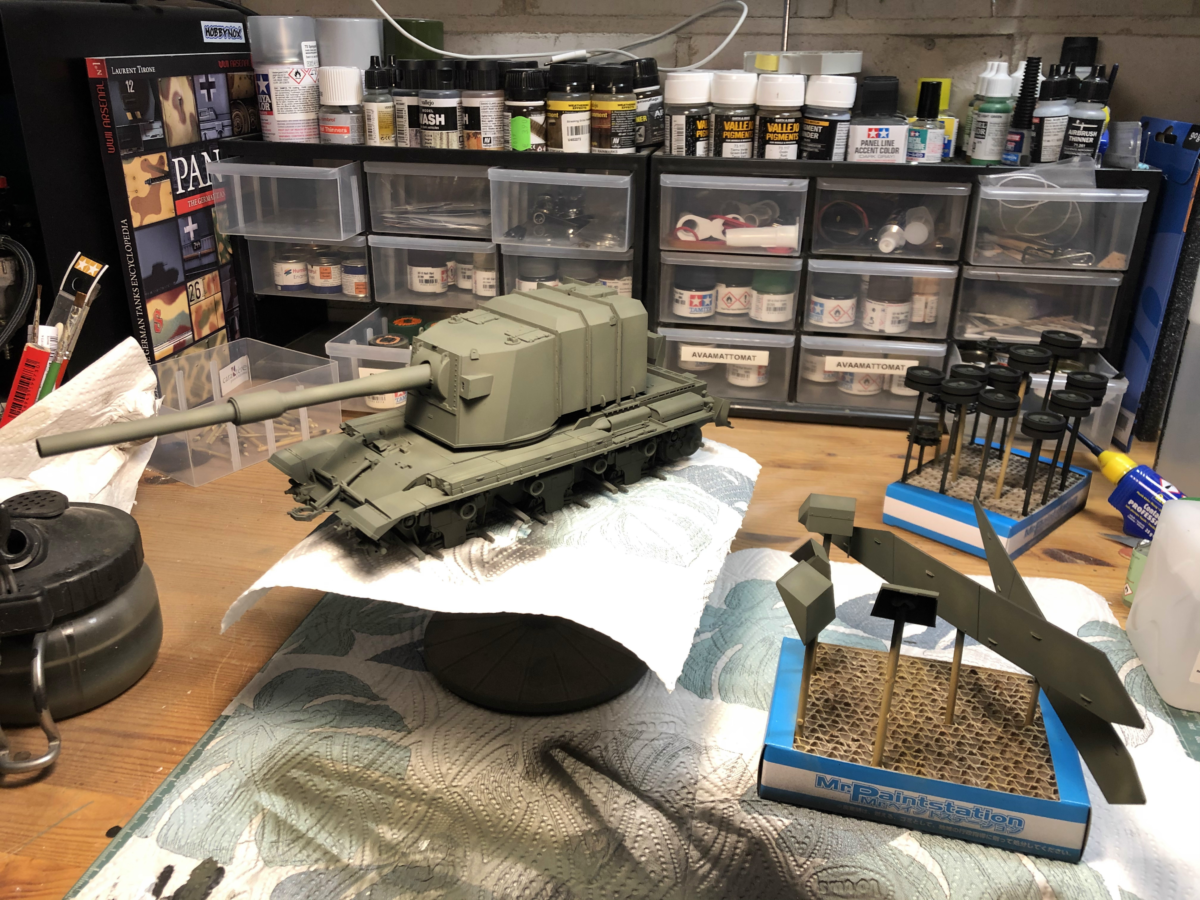
As usually I airbrushed the entire thing black first and then airbrushed some of the bigger flat areas with white to make some base for the color modulation of the main color.
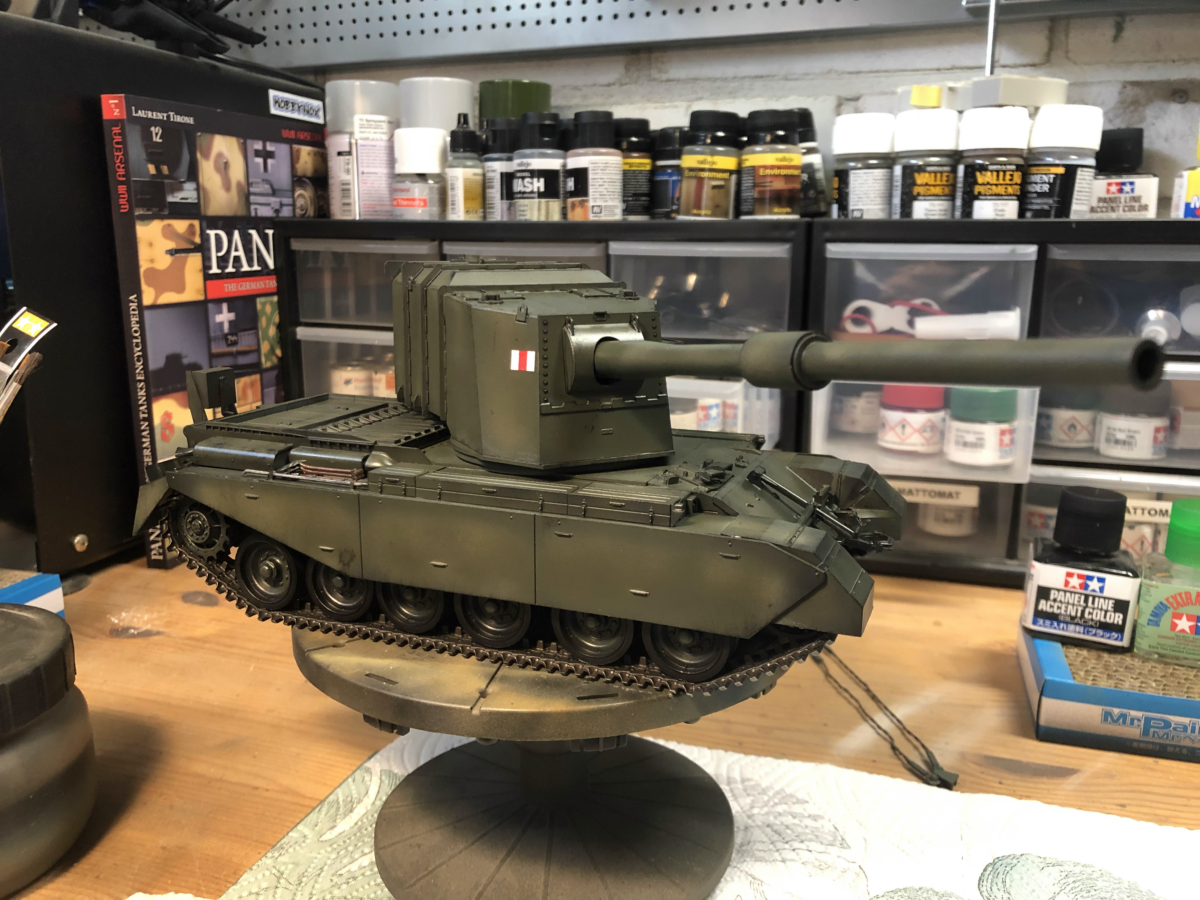
The olive green turns much darker when the clear coat is applied before adding the decals. In the instruction sheet there were options to add Canadian decals or no decals at all. The British decals were still included so I decided to use those. The painting options were wither the all olive green or the messy white winter camo. I went for the green because that’s the color of the gatekeeper Shitbarn in the Tank Museum at Bovington.
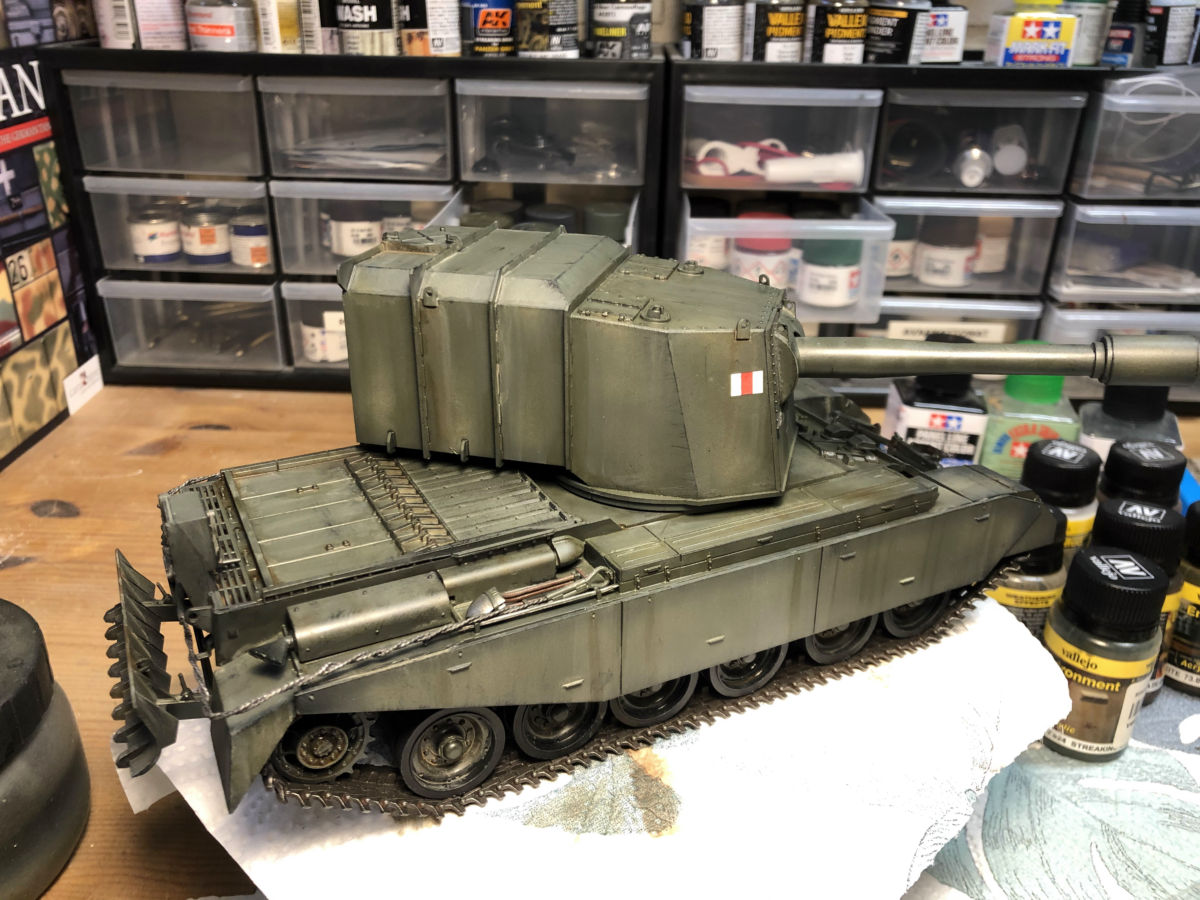
Here I have already done some basic weathering. I used a flat brush to apply Tamiya thinner to an area at a time. Then I added Vallejo Rainmarks, Vallejo Rust and Vallejo Streaking grime drops which I then applied with a downward stroke with another flat brush. The engine deck and the tool areas have also received some rust wash drops applied on a thinner-soaked area and left to dry.

As the final thing I added some earth pigments to tracks, wheels and skirts. In this photo the pigment stands out a little too much from the side skirts and I did brush some away with a hard toothbrush to make it look a little more subtle.
So how did I like the kit? It’s pretty good kit but getting rid of the extra sprue and making the track links better and adding a jig for them would make it a lot more enjoyable. I do like the fact that Amusing Hobby offer kits other manufacturers do not.
The kit cost 48 euros at Mallisto.fi webstore where I often buy my kits. It’s not cheap but at the same level with most other newish kits from other manufacturers.
Let me know in the comments section below how do you like my build and if you’re thinking about building one yourself.